Restoring a Backup
If this is a new installation of Church Windows, it will ask if you are restoring a backup, and you can choose to Restore Existing Data.
Important!
To restore a backup that was created by Making a Backup:
- From The Initial Portal of Church Windows choose Administration
- Choose Restore Data
- If the Restore Data button is grayed out with a lock symbol on it, then your Church Windows password does not allow you access to this feature.
- The Restore screen will open:
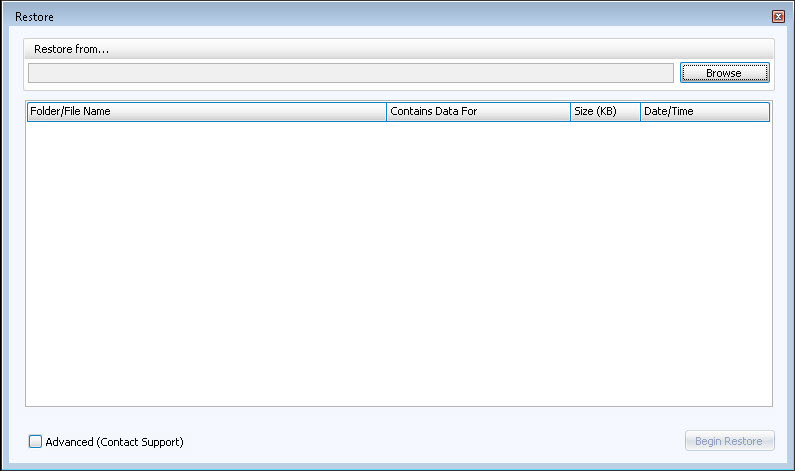
- When you select Restore Data, the system checks for a backup file to restore from. The system will default to restoring from the drive that was used for the most recent backup created.
- Once the Restore Data screen is open, you may then click Browse and select the location of the backup file that you’d like to restore.
- Click Begin Restore. The system will replace your current Church Windows data with the data file(s) you selected.
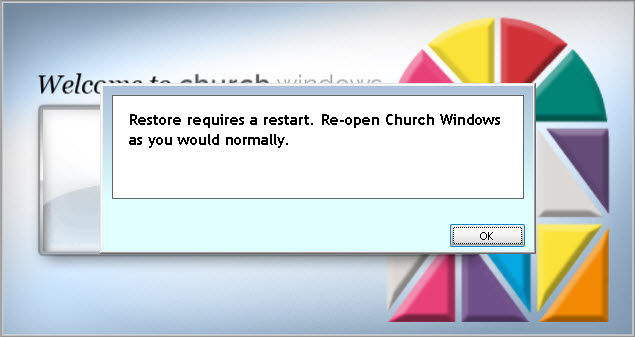
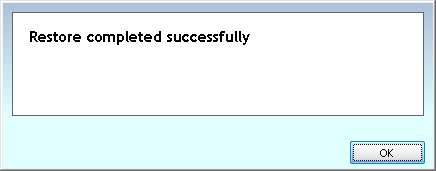
- When the restore has finished, a window will pop up to alert you, click OK:
- Another window will open telling you to restart Church Windows: